Substrate preparation and priming prior to house insulation
If we do not prepare the substrate prior to house insulation or do it incorrectly, then the insulation won’t be efficient at all. Contrary to common belief, it’s one of the most frequent errors.
“Mechanical anchors are enough to provide a suitable installation” - this kind of opinion is still found in the sector. Nothing could be further from the truth - an anchor without an adhesive permanently connected with polystyrene is useless. Why? When thermal insulation works, cracks start to appear around each board. What’s more, the entire insulation may come off the substrate.
How to prepare the walls prior to house insulation?
1. The substrate must be painstakingly cleaned. It must be dry, solid and free from any elements deteriorating the adhesion, including dust and greasy stains. Also, it should be free from biological and chemical aggression, and should have as homogeneous properties as possible.

2. The walls must be even. It’s necessary to check whether they meet the tolerance criteria for surface and edges departure. If not, it’s necessary to provide them. Even the tiniest irregularity of the substrate may deteriorate the adhesion.

It is equally important to check fixing of walls and doors and the other installations, including gutters and roof flashings. As it will be impossible to carry out any subsequent changes/repairs.
3. Another step it to check the technical condition of the walls - it’s worth carrying out a few tests.
- Abrasion resistance test. With an open palm (or dark hard fabric) we check how much the wall surface contains sands, dust and efflorescence residues.
- Scrubbing or rasping resistance test. Most frequently we try to use a gravel to cut the wall.
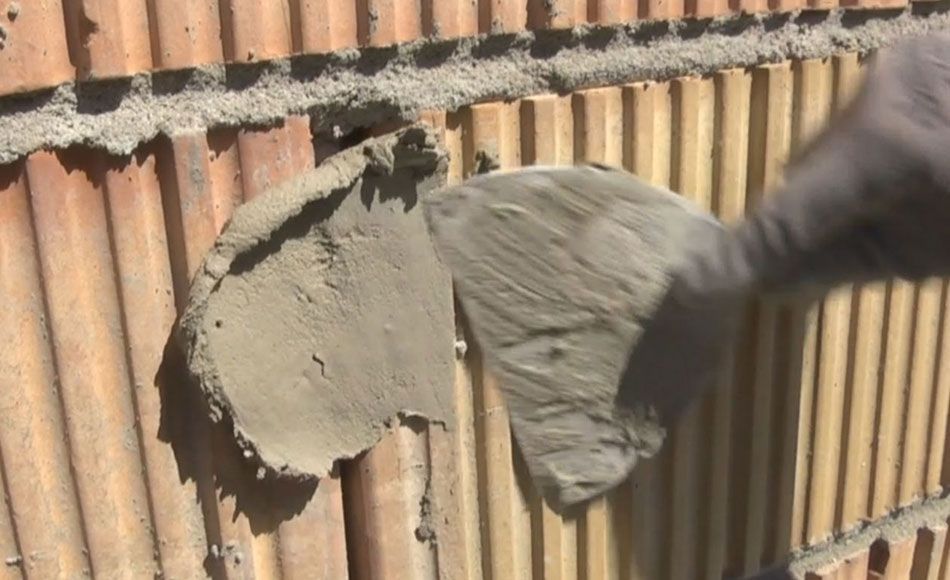
If it starts to brittle, then it is necessary to remove old paint coatings, wall parts and poor quality plasters. Till reaching solid substrate. Bricklayer's hammer, putty knives and chisels might be helpful then. It may also be necessary to take advantage of wire brushes (particularly for strong but dusty substrates), as well as washers - to wash away all residues under high pressure (necessarily from top to bottom).
If we deal with surface solid plasters, it’s worth checking them with a hammer. “Dull” sound indicates that the plaster is about to come off. Then, it is necessary to remove it.
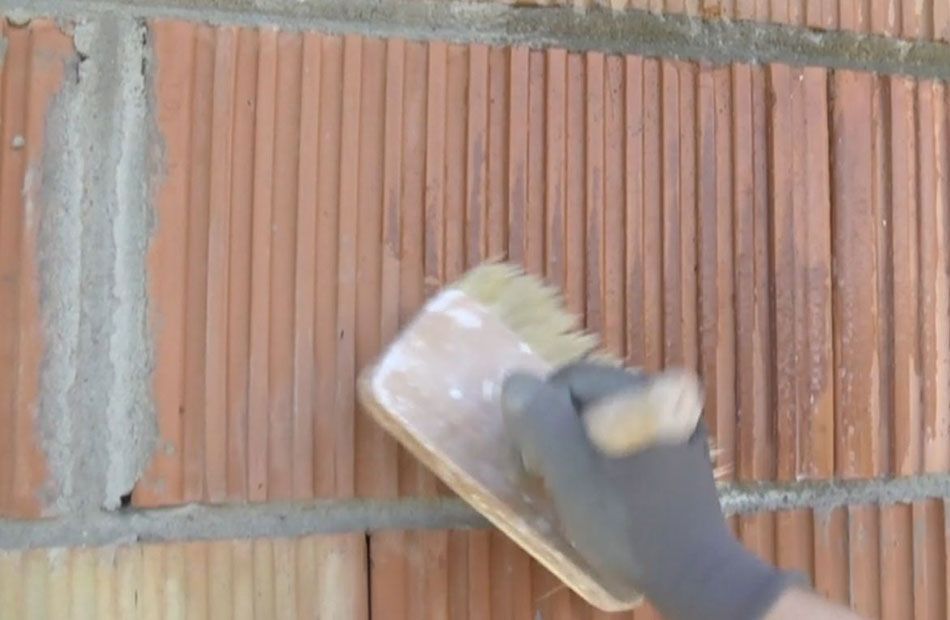
- Wet test. We use a brush, paintbrush or sprayer and carry out a test how much the substrate is absorptive.
If it turns out to be porous and absorptive, then it is necessary to prime it with a special product. Priming is also required when the substrate is dusty, and plaster features poor quality and has loose particles (it’s necessary to remove it), and the walls are abundant in fungi, algae and lichens.
- Smoothness and evenness test. By taking advantage of a traversing rule (usually 2-m long), we carry out a vertical and horizontal test and check how even the surface is.
After the walls have been prepared, prior to polystyrene boards installation, it’s worth carrying out an adhesion test by using a pull-off device or polystyrene sample. 8-10 blocks (of 10x10x10 dimensions) are installed onto the wall (joint thickens of approx. 10 mm), next removed after min. 24 hours (at optimal weather conditions). The substrate is ready when polystyrene is torn.
Gallery: