Correct polystyrene anchoring - a step by step manual
Adhesive is not enough. In order to prevent the polystyrene from coming off, it is necessary to use special means. Anchors is the best solution to install the insulation mechanically to the substrate.
What do we need to know about anchoring? In which areas should we use mechanical anchors? And how many? We are answering how to organize work.

When can we start work?
As soon as the adhesive cures, i.e. min. after 48 hours (taking into account optimal temperature and air humidity, as well as the adhesive thickness). Other rules?
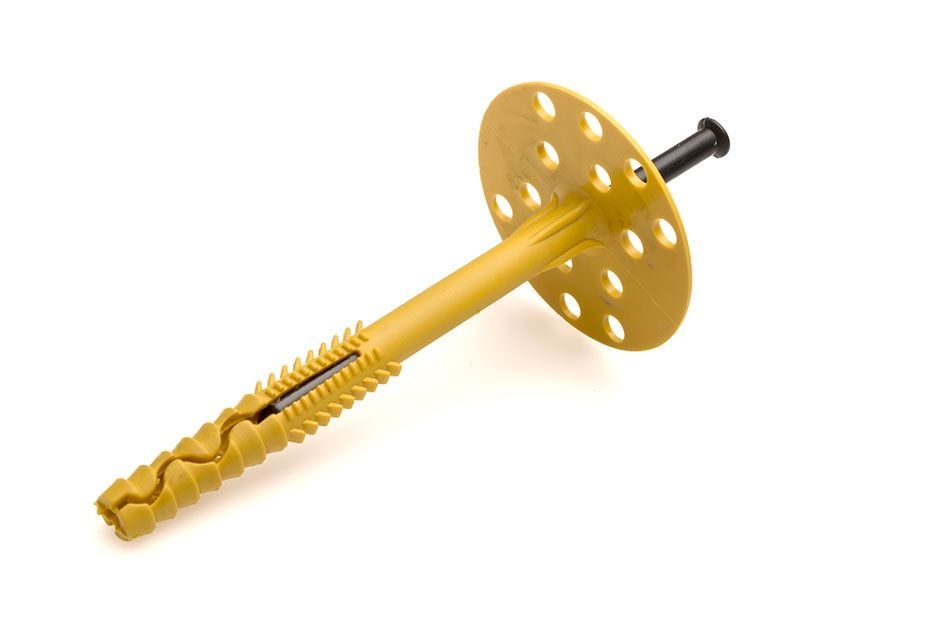
1. Anchors selection
They should be of appropriate length (it is adopted that at least 5 cm, longer than the thickness of the insulation material), secondly - they should be accommodated to the material the load bearing wall is made of, and thirdly - accommodated to the insulation type. For example, mineral wool, is installed with steel anchors, not plastic ones. It is a lot heavier than polystyrene.
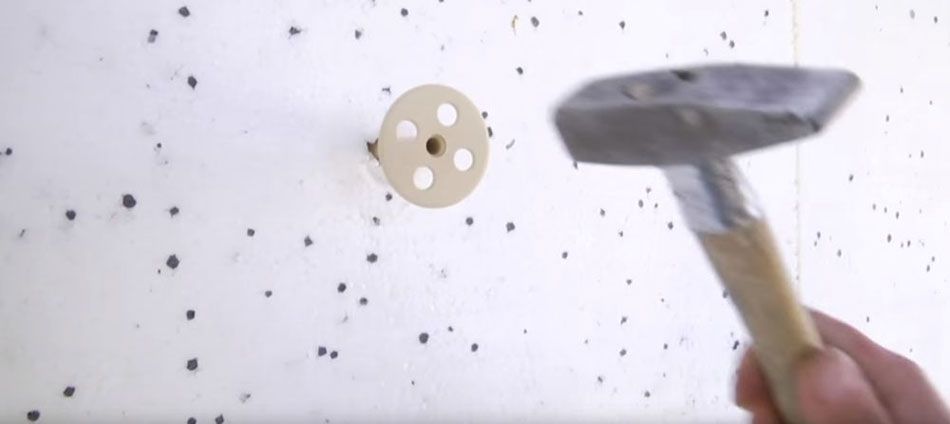
2. Holes drilling
Use a hammer drill. Make holes perpendicularly to the substrate’s surface. High-performance solid carbide drill bit (WIDIA) of 8 or 10 mm diameter (depending on the anchor type). The exception are aerated concrete blocks - then we should use cylindrical drill bit (for metal) and a regular drill without hammer, as well as ceramic blocks - high-performance solid carbide drill bit without hammer.
In the event of high rotating speed do not use too much force.
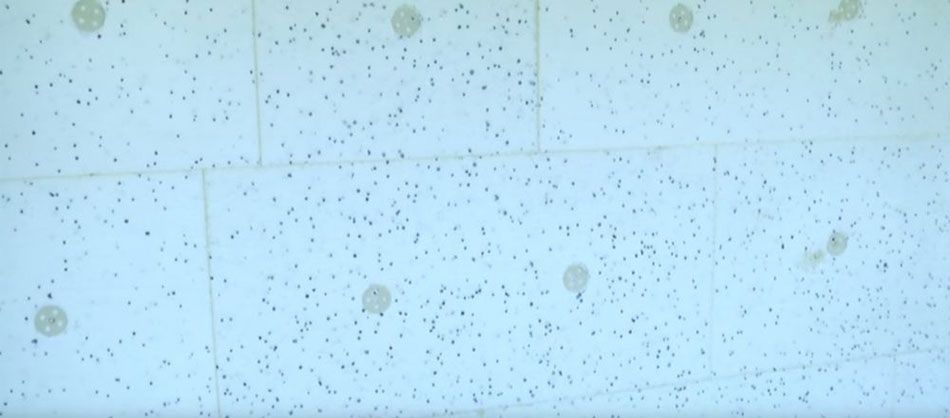
How many anchors to use?
There is no universal rule - is should be accommodated to a particular building and equally important, included in the insulation technical design. What if we don’t have any particular guidelines in the documentation? It is adopted that a standard distribution of anchors is 4-6 per m2 (i.e. 2 per a board(sheet)), in the middle section of the wall and at least 6-8 per m2 near the edges of windows and doors and the hose corners (these areas are especially exposed to boards coming off).
3. Before we put an anchor into the wall, it’s necessary to remove the residues after drilling. Then we can put it inside.
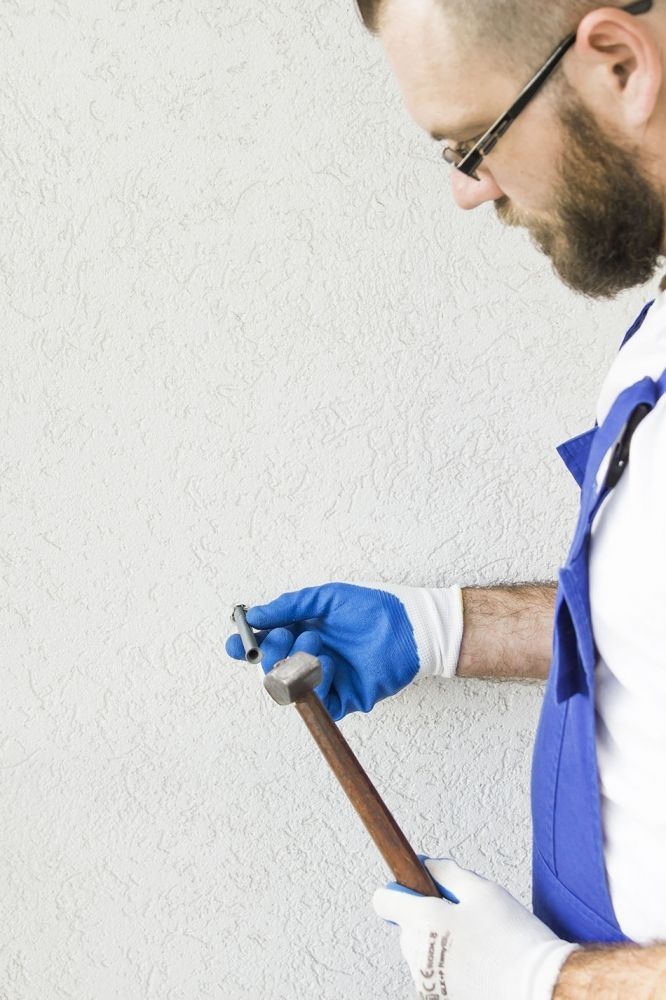
4. When the tube is inside of the wall, it’s necessary to put the expansion bolt and next screw or push it (depends on an anchor type).
5. The anchor’s plate should bent a bit the insulation material. The reason for that is that it cannot protrude of the polystyrene, since it may contribute to irregularities.

6. Next, the anchors’ plates must be covered with adhesive prior to application of the reinforcing layer. Then, the entire must dry.
Gallery:
